How to Modify Sleeve Length in a Drop Shoulder Sweater
A Guide to Drop Shoulder Fit & Construction
Drop shoulder designs are certainly having a moment, and it’s doubtful they will go away anytime soon. They exude a casual, effortless feeling that is easy to style with the pieces in most wardrobes.
Traditional drop shoulder sweaters are made of two squares that are seamed along the sides, leaving just enough open to create the arm opening. This can be problematic as it doesn’t create a consistent drop shoulder seam placement across the size range. The smaller sizes will have a drop shoulder seam closer to the shoulder and might require a larger armhole opening, while the larger sizes will have a drop shoulder seam closer to the elbow and might require a smaller armhole opening.
To make drop shoulder designs more inclusive and consistent across the size range, the front and back pieces should include armhole shaping so that the seam falls in a consistent place across the size range. I’ve begun to implement this nuance into my designs and plan to update past designs accordingly. The Latte Cardigan is a great example of this modified drop shoulder construction.
The straightforward construction of drop-shoulder sweaters makes them ideal first sweaters for beginner knitters. If you can get the fit and components right, you can modify any drop-shoulder sweater pattern with your favorite stitch patterns. They are easier to customize to fit your body and preferences.
Common Fit Issues & Sleeve Length Customization
One of the most common fit questions I get is about sleeve length. Because arm length doesn’t always correspond to chest circumference, designers typically have one of two approaches to sleeve grading:
Same sleeve length across the size range.
Sleeve length gets progressively longer as you go up in size.
I use approach #2, adding 0.25” of length for each size. This usually works well, but since everyone is unique, this post will teach you how to customize your sleeve's length in a drop-shoulder sweater.
Choosing the right size
When choosing which size of the pattern to knit, measure from the top down. Key measurements are shoulder width, neck opening, and (upper) chest. Everything else can be modified relatively easily. Today, we’re focusing on adjusting the sleeve length of your drop-shoulder sweater.
How to Measure Yourself
With the help of a friend, measure your wingspan—the length from wrist to wrist with your arms outstretched. Some prefer really long sleeves, while others, like me, prefer a bracelet-length sleeve that doesn’t get soaking wet when doing the dishes.
Take your wingspan measurement, subtract the shoulder-to-shoulder measurement, and divide by 2. This is your optimal sleeve length.
Shaping the Sleeves
Any sleeve shaping will be worked over the total sleeve length minus the cuff length minus 3” to 4” of no shaping in the upper arm. So if your optimal sleeve length is 17”, your sleeve shaping will be worked over 11” to 12”.
If you need more room in the bicep, knit the armhole depth longer by adding more rows after the armhole shaping. If you need less room in the bicep, knit a smaller armhole depth by reducing the rows after any armhole shaping has been worked. Note that you may need to adjust some neck shaping.
Evaluating the Rate of Shaping
Now that you have your optimal sleeve length, you need to evaluate the rate of shaping. The pattern will provide three main sets of instructions for the sleeve:
The cuff – generally worked straight without shaping.
Increase section – the increases worked from the wrist to the bicep.
The bicep – generally worked straight without shaping.
If there is a big difference between your optimal sleeve length and the length provided in the pattern, you’ll need to adjust the shaping rate within that increase section.
Calculating Adjustments
Look at the row gauge to determine how many additional or fewer rows you’ll need to knit.
Let’s use some real numbers. If the pattern calls for 6 rows per inch and you need to increase your sleeve length by 2 inches, you need to add 12 more rows of knitting. Your total desired sleeve length is 17” minus 2” for the cuff, minus 2” for the upper arm, or 13” for the shaping section. That’s 78 rows. Divide 78 by the number of increases you need to work on each side (for example, 8 increases): 78/8 = 9.75
You will need to work an increase row approximately every 9 rows.
Now you know how to compare your desired sleeve length with that in the pattern and how to modify drop shoulder patterns accordingly.
Practice Your Skills
If you’re looking to practice your new modification skills, check out these modified drop-shoulder patterns. The sleeves feature simple stitches, so you can focus on fit rather than stitch patterns and multiples.
Design Information
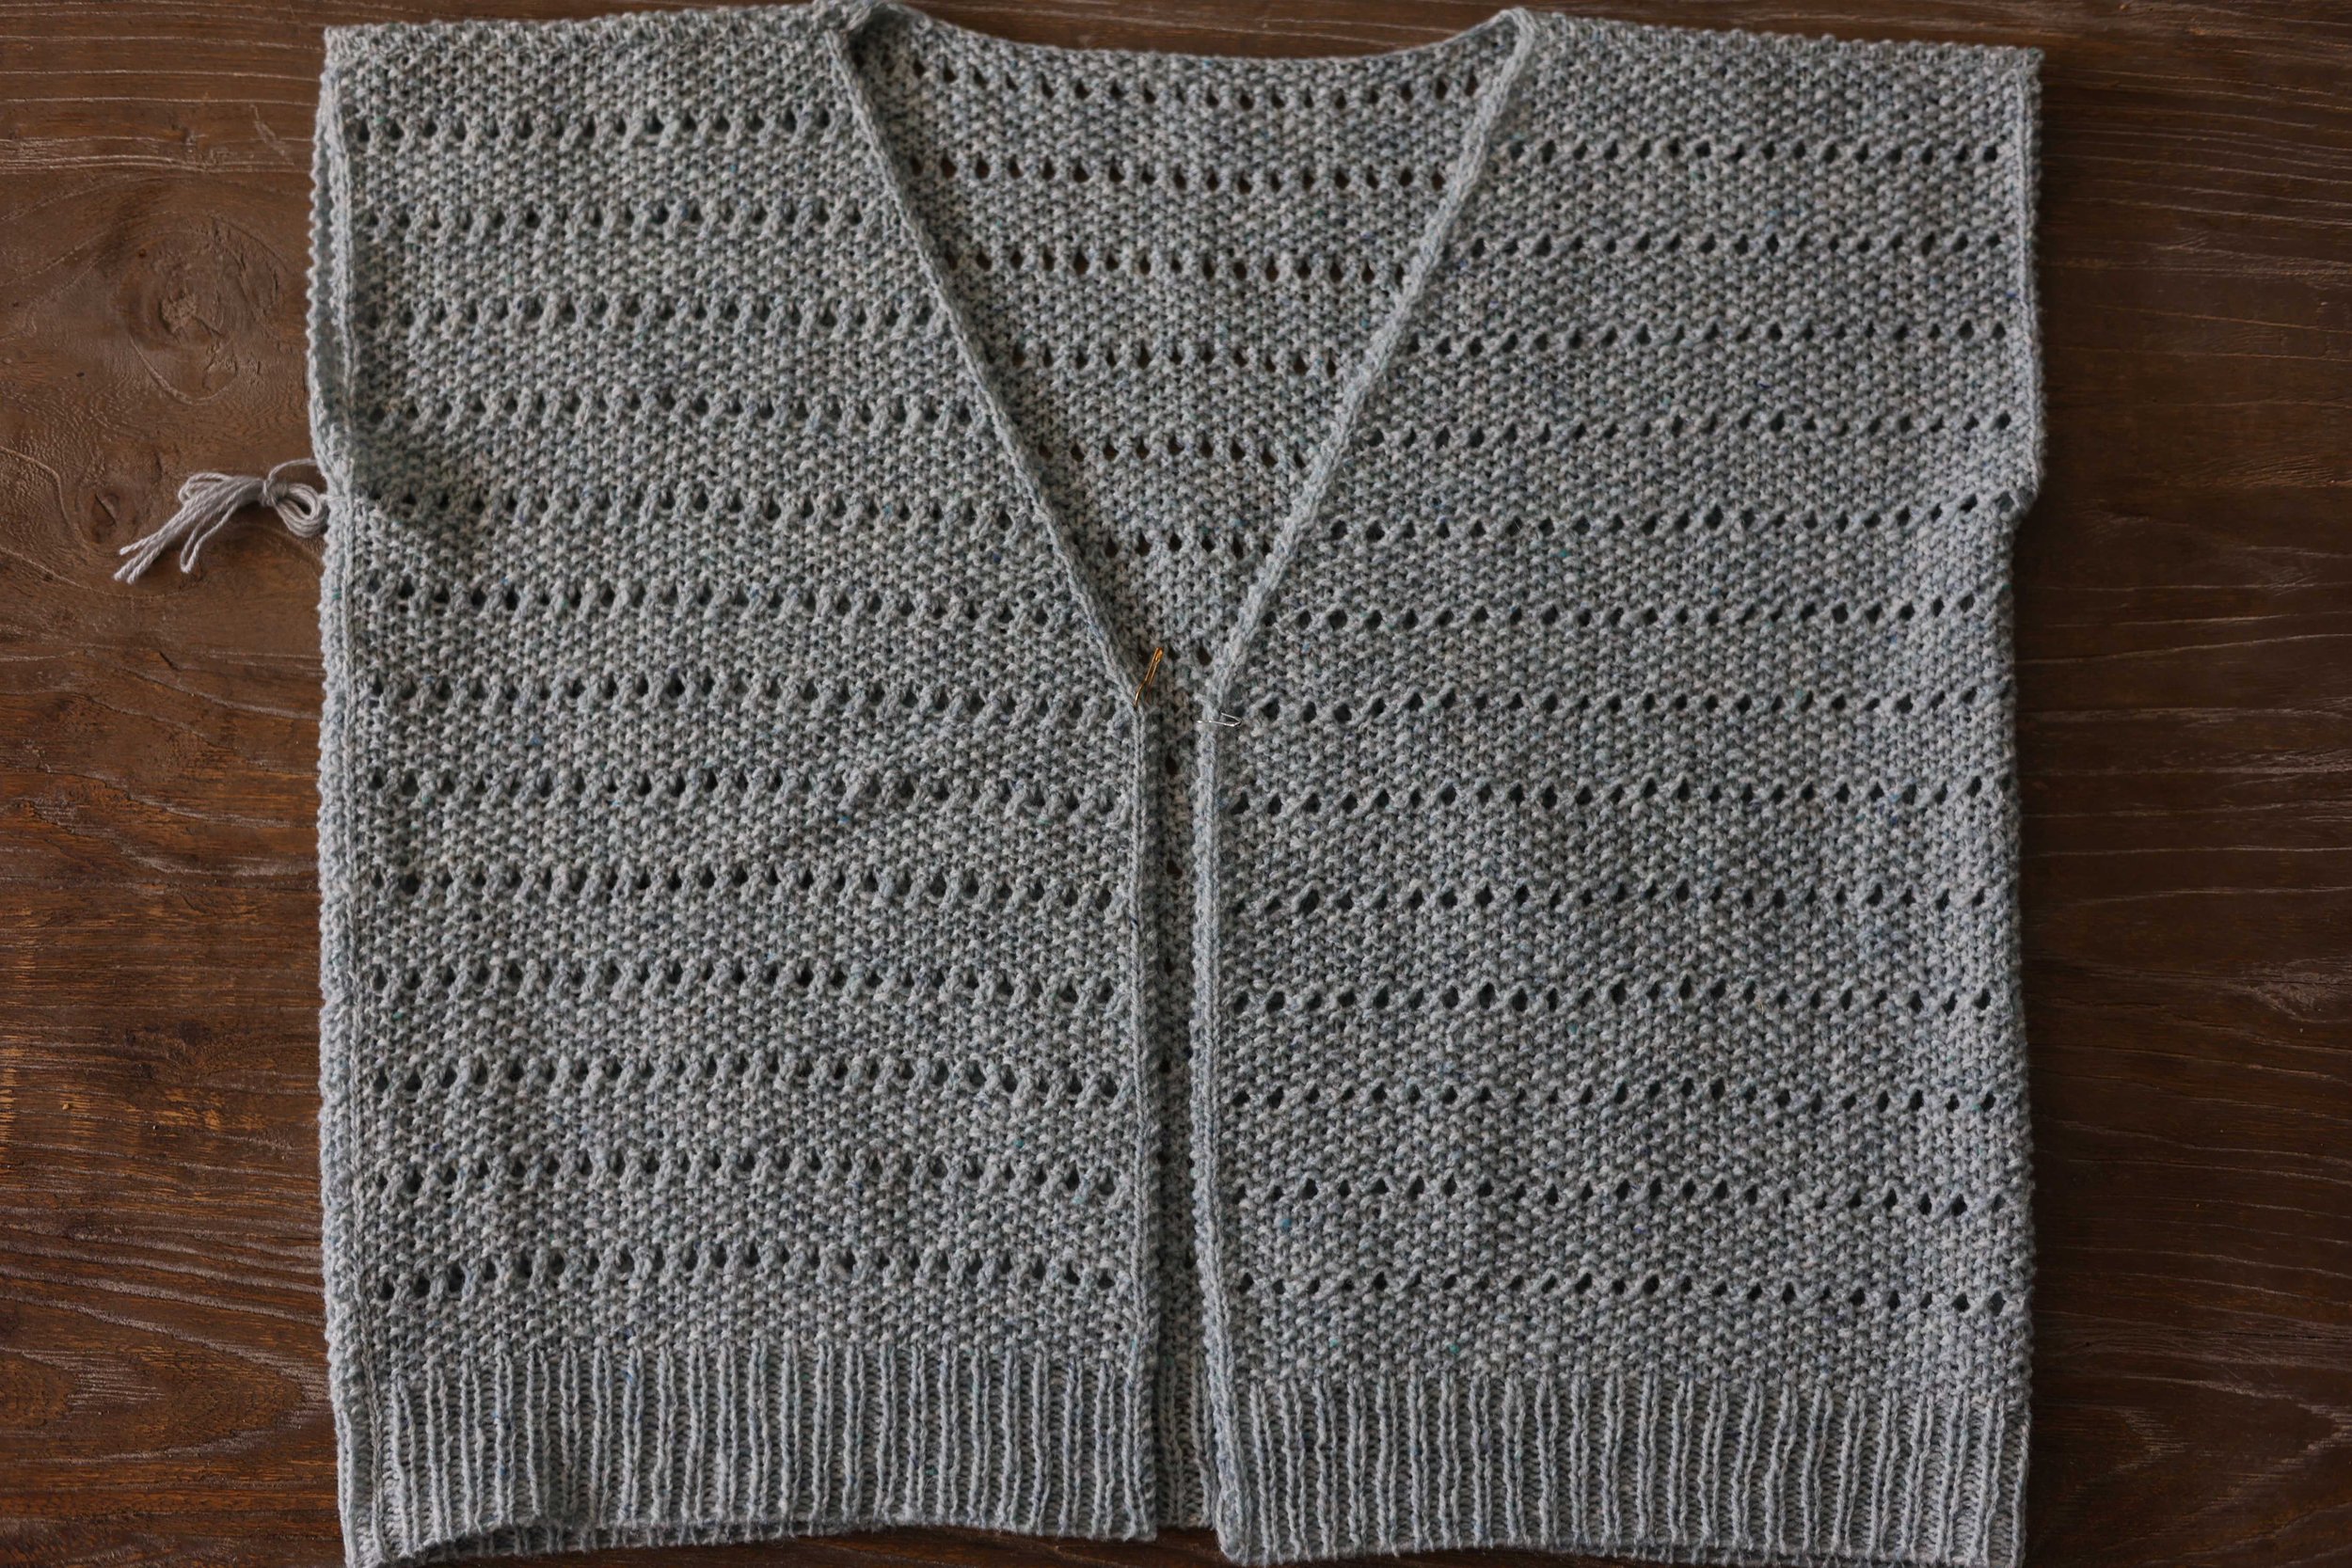
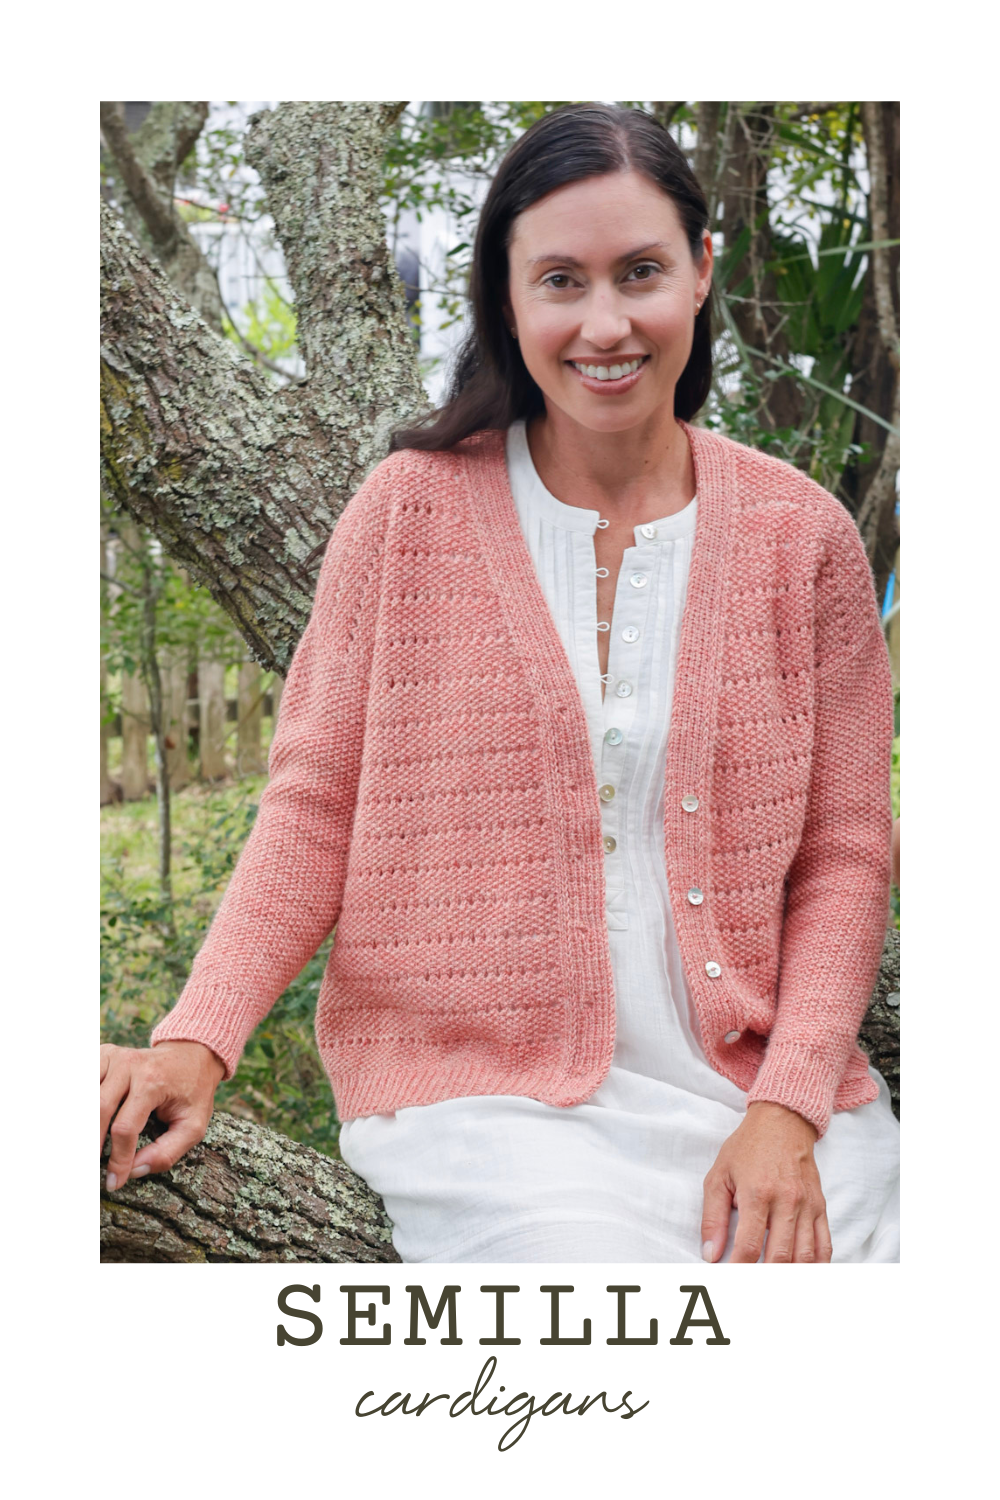
The Semilla Cardigan is a bottom-up, seamed v-neck cardigan featuring an all-over seed stitch and eyelet lace pattern. It includes classic 1x1 ribbing at the hems and button band, and a modern, updated cropped length. The back and front pieces are worked flat and seamed. Armhole shaping maintains a consistent drop shoulder seam location across all sizes. The drop shoulders are shaped with a sloped bind-off, and instructions are provided for optional cup shaping using short rows. The v-neck is designed to be flattering and slightly flirty without being too revealing.
Once the body pieces are completed and seamed, stitches are picked up around the armhole and worked from the bicep to the cuff in the round with a few short rows to create a gentle cap for an optimal fit and easy movement in the underarm.
Stitches are picked up around the neckline to work one of two button band options: horizontal or vertical, both in a 1x1 ribbed stitch. The Fronts are slightly wider than the Back when the button band is added to help prevent any gaping issues at the chest.
The pink sample features a vertical button band and is knit with Purl Soho Good Wool, a 100% Andean highland wool known for its toastiness, classic appearance, soft texture, gentle bloom, and beautiful heathered colors.
Wear this on-trend, yet secretly classic cardigan with chic trousers for an office party, or wear it as a cozy layer at home with shearling slippers and comfy joggers. However you wear it, the Semilla Cardigan will be a delightful addition to your everyday handmade wardrobe.
Please share your progress on Instagram by tagging me @kirstenjoel_designs and using the hashtags #semillacardigankjd. I love to see all of your works in progress and finished projects!